The Dorkbot booth at Maker Faire worked out really well. Here's a couple good photos Zach took:
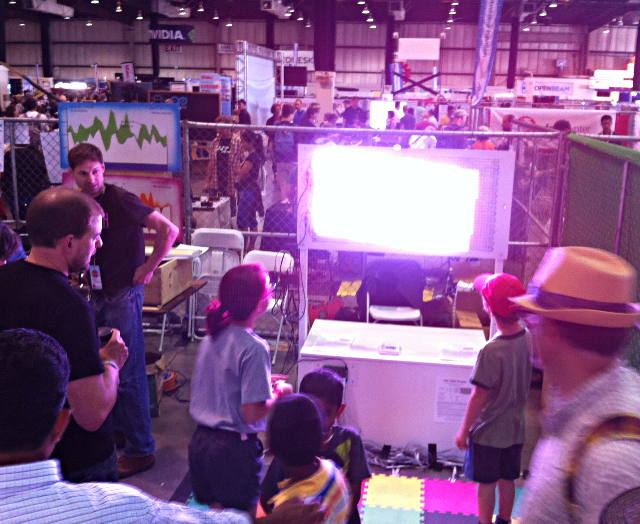
This is the right-hand side, with my extremely bright OctoWS2811 Arduino library demo triggered by stomp pads.
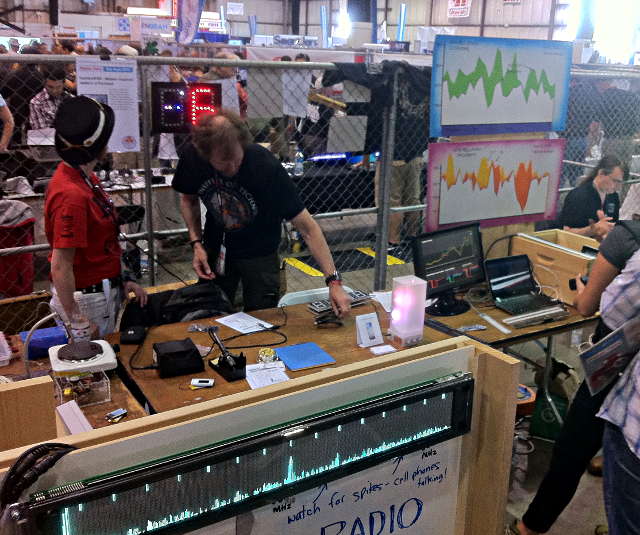
This is the center with Tom's Bee counter, Zach's Hypnolamp, and Tara's soldering demo in the center, viewed over the top of Jared's VFD display spectrum analyzer (and FPGA Robotron not visisble in this photo).
Click "Read more" for more pictures, source code and other stuff
During the Faire, Jason Kridner from Texas Instruments came by to see my use of the new Beaglebone Black. He recorded this quick video interview about the project, and posted in on his blog.
http://www.youtube.com/watch?v=d-Vbtg_6yRg
Getting things ready for the DorkbotPDX exhibit at Maker Faire.....
(everything below this point was written a few days before Maker Faire)

I originally published the OctoWS2811 library in February with an example that plays video using a program written in the Processing environment.
For this project, I decided to attempt streaming live video and also overlaying animated GIF images triggered by user input. Originally I had planned to use Processing again, but with the Beaglebone Black was released, I couldn't resist the opportunity to make it run on such a tiny little Linux board.
Here's a block diagram of the system. It's from the printed handout (PDF in the files below) I'll have for people at Maker Faire.

The Beaglebone runs this project easily, using about 30% CPU while the video is streaming and GIF files are triggered. I used the efficient video4linux API, via the v4l2 library (which is installed by default on Beaglebone's Angstrom Linux distribution).
I also used libudev to detect the attach and remove events for the webcam and the USB virtual serial devices from the Teensy boards. Each board implements a very simple identification query/response, so when udev detects each serial device, it sends the query and parses the response. This completely avoids hard-coding any device names. The complete source code is available below, for anyone who wants to use this technique.
Not all has been perfect with Beaglebone. The main problem has been its poor detection of USB devices connected to its host port. This post about a musb bug was the best info I found.
Leave your usb hub connected with at-least one device plugged in at
ALL times from the moment you powered it up..
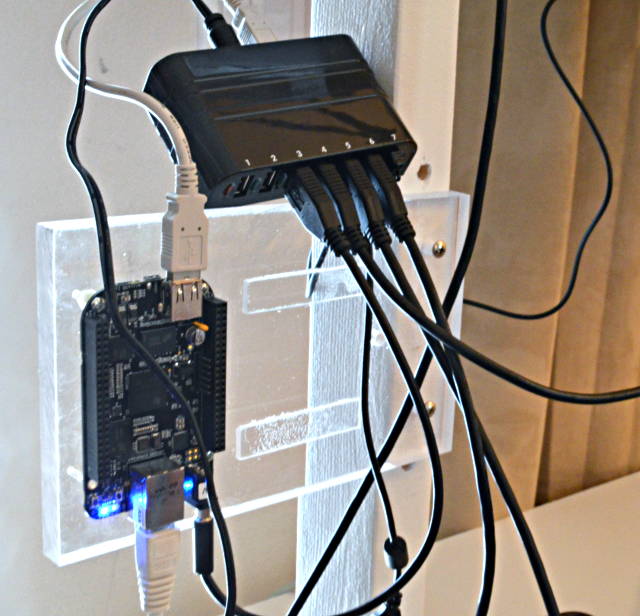
However, this wasn't the only issue. The Beaglebone Black just can't see some hubs reliably. Here you can see a bracket I built for a smaller hub which works great on 2 PCs and 1 Mac I tested, but the Beaglebone Black almost never detects it (as if nothing were plugged into its host port). But it can use this somewhat-larger hub (so now I need to make an bigger mounting bracket). I'm hopeful future Beaglebones will ship with this problem fixed, but it is something to consider for anyone attempting these sorts of projects using the USB host port.
I should mention I also tried using a Raspberry Pi. The uvcvideo driver (for the webcam) exists and works on the Pi, but it drops most of the frames. The resulting frame rate is only a few per second. It's utterly unusable. I found numerous threads where people had similar issues on the Pi, without solutions, other than anticipating the native camera. I found discussions saying some older versions might have a better driver, but I tried several and all were terrible.
On Beaglebone, this Logitech 9000 webcam works great with uvcvideo. The default Angstrom Linux doesn't have the driver, but it's a simple matter to add it with "opkg install kernel-module-uvcvideo_2.6.39-r102o.9_beagleboard.ipk". I found this on their website, and I'll attach the file to this message, just in case.
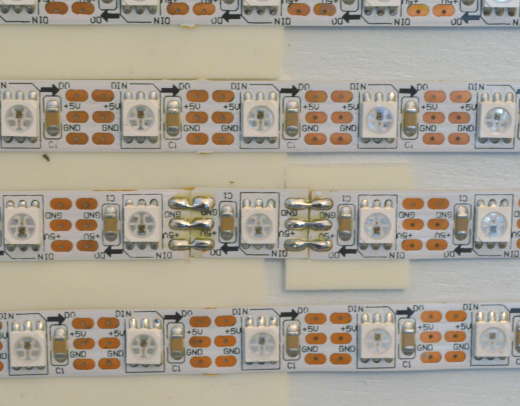
The LEDs are the same 1920 array (60 by 32) I used previously for developing OctoWS2811. I cut them out of the rubber tubing, because they run pretty hot for indoor use inside those tubes.
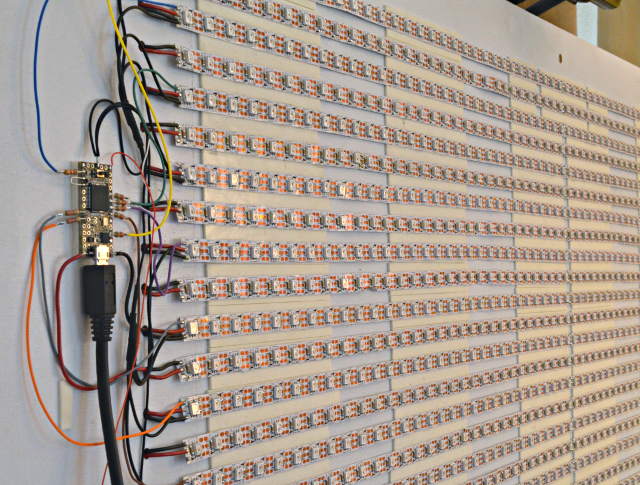
Of the 1920 LEDs I purchased from Ray Wu on Aliexpress, 5 have died. Originally it was only 1 dead pixel and 2 more that would stop working after an hour or two of use. Here you can see one of the LEDs which was replaced. I hoping no more die at Maker Faire, but if they do I'll be prepared to cut them out and solder in repacement.
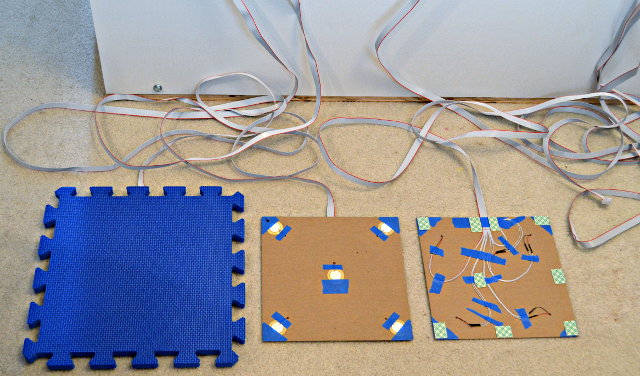
Here are the stomp sensors. They're just Piezeoelectric speakers, Murata 7BB-27-4L0, taped and glued to cardboard and placed under Soft Tiles foam mat material.
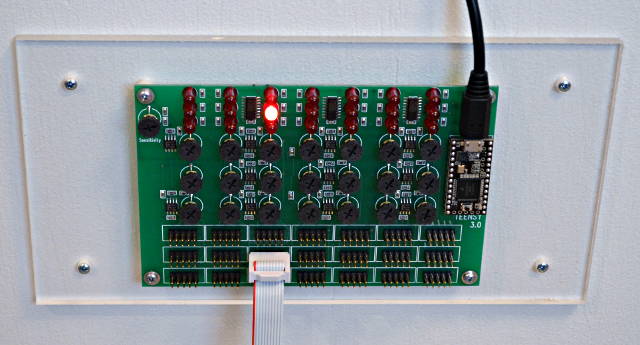
The sensors are connected to an interface board that converts the analog voltage to digital signals using LMV393 voltage comparators. The Arduino attachInterrupt() function is used to respond to the rising edges. Teensy 3.0 supports attachInterrupt on all digital pins, so it's easy to connect lots of sensors to just 1 board. There's a brief timeout after sending any output where additional triggers are ignored. That helps prevent vibration from triggering the nearby pads. The complete source code is available below in the attached files.
That's about it for now. I have a long list of stuff to do before hitting the road tomorrow for San Mateo (including making a new bracket for the BB+Hub). But the project is working pretty well.... well enough I can spend a bit of time updating this blog.
EDIT: the files originally attached to this post seem to have been lost during server or software updates. I have uploaded all the original code at this github repository: